Table of Contents #
This section of the documentation provides a comprehensive guide to configuring all aspects of the Invoize plugin. From managing your business’s core information to customizing invoice generation, payment methods, and email communication, these settings allow you to tailor the plugin to perfectly match your business needs.
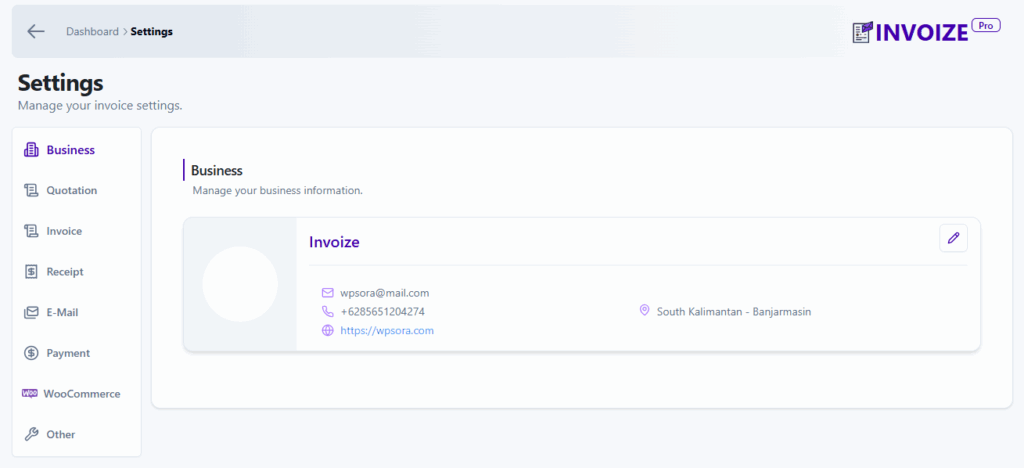
Business Settings #
Manage your business information details here. This section allows you to input and update critical business information such as your business name, address, contact details, and logo. Ensure your information is accurate as it will be displayed on all invoices and communications with clients.
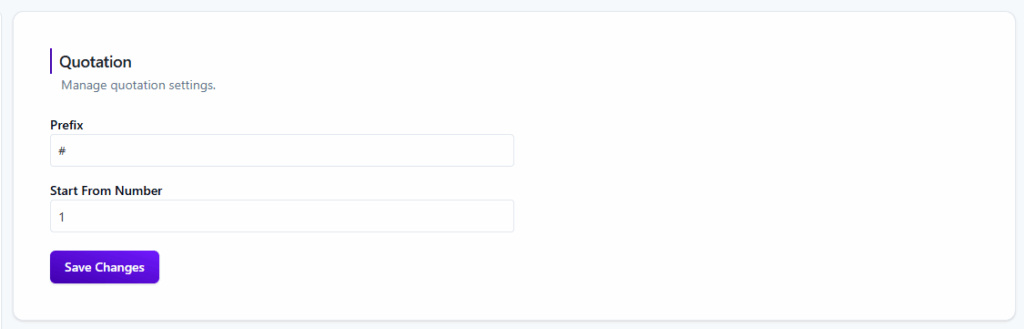
Quotation Settings #
The Quotation Settings section allows you to manage the numbering and prefix for your quotations, enabling you to customize the format to align with your business’s system. You can define a Prefix, which is a character or string that will appear before every quotation number (e.g., #), and set a Start From Number to specify the starting integer for your quotation numbering sequence, ensuring consistency and proper sequencing.
Invoice Settings #
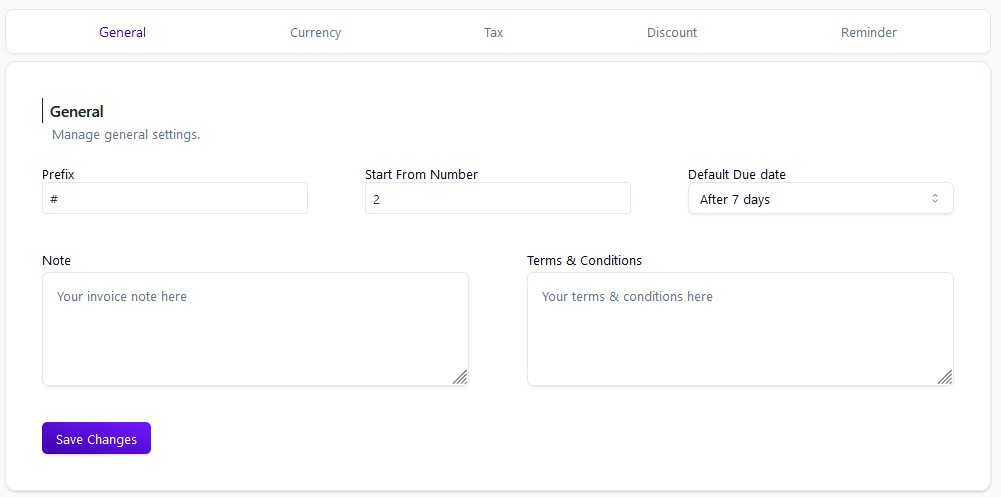
1. General Settings #
Configure general invoice settings to align with your business needs. Customize invoice numbering, date formats, and payment terms to maintain consistency across all your invoices.
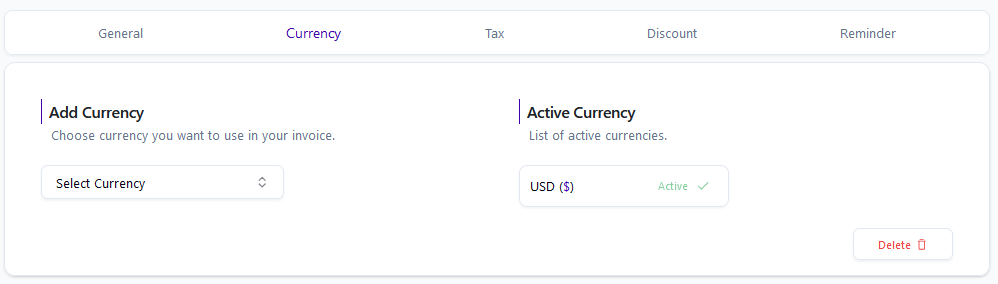
2. Currency Settings #
Select and manage the currency for your invoices. This section allows you to set your preferred currency, adjust currency symbols, and define exchange rates if necessary.
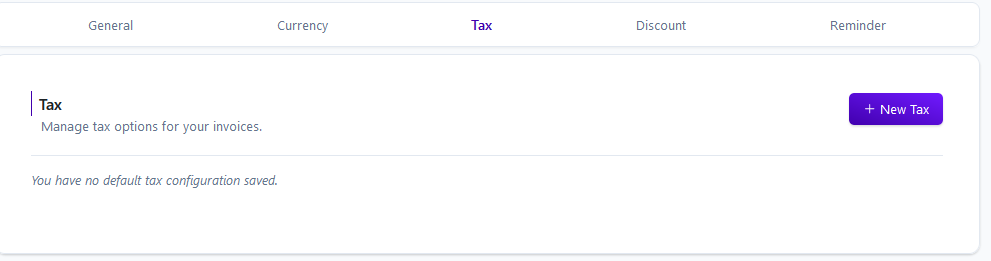
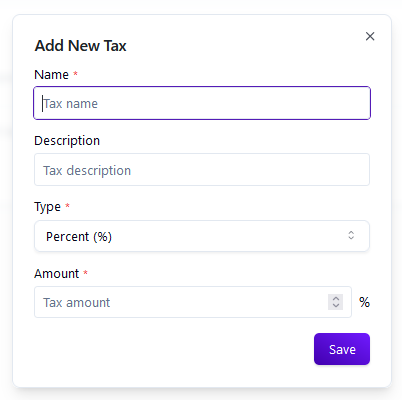
3. Tax Settings #
Manage your tax settings here. Add and configure multiple tax rates to apply them automatically to invoices, ensuring compliance with regional tax laws.
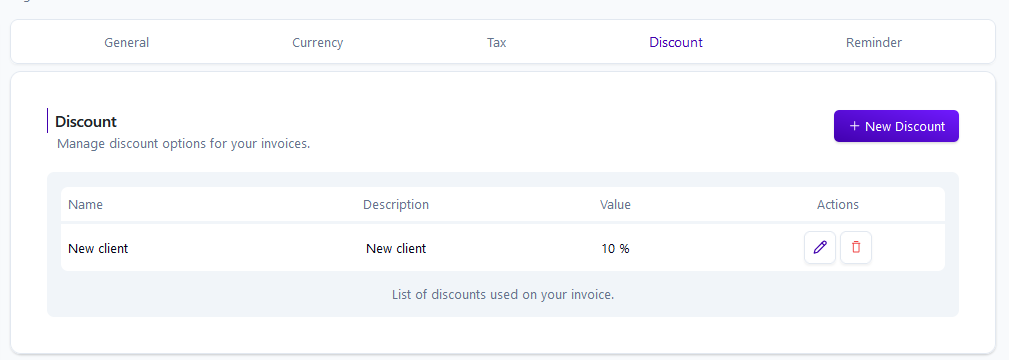
4. Discount Settings #
Set up discount rules that can be applied to your invoices. Define percentage-based or fixed-amount discounts to incentivize clients and manage promotional campaigns.
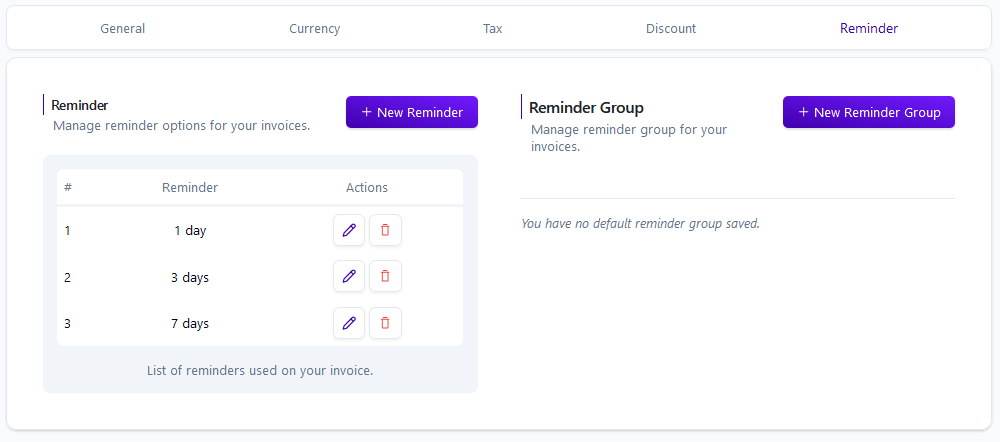
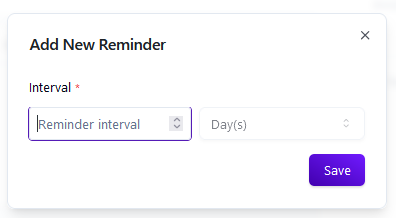
5. Reminder Settings #
Automate payment reminders to ensure timely payments. Configure the frequency, timing, and content of reminders to match your business’s cash flow needs.
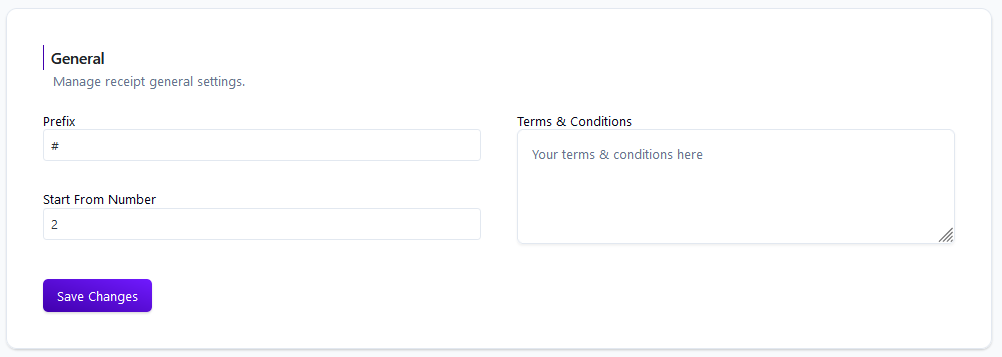
Receipt Settings #
Manage general receipt settings. , including customization of receipt templates, numbering, and acknowledgment notes. This ensures that your receipts are clear, professional, and aligned with your brand.
E-Mail Settings #
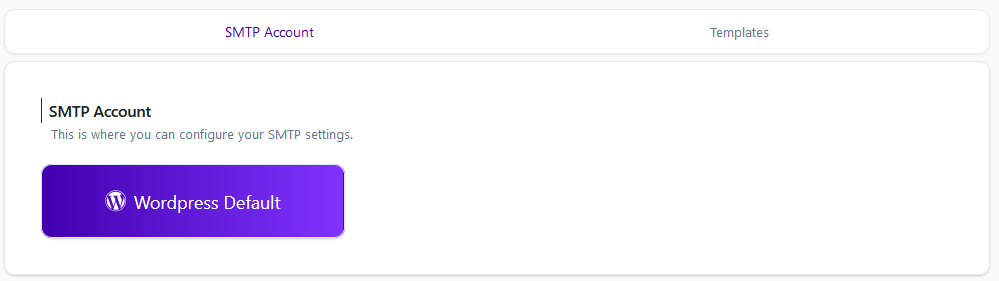
1. SMTP Account Configuration #
Set up and manage your SMTP settings to ensure reliable delivery of all emails sent from Invoize Pro. Input your SMTP server details, authentication credentials, and test the connection to prevent email issues.
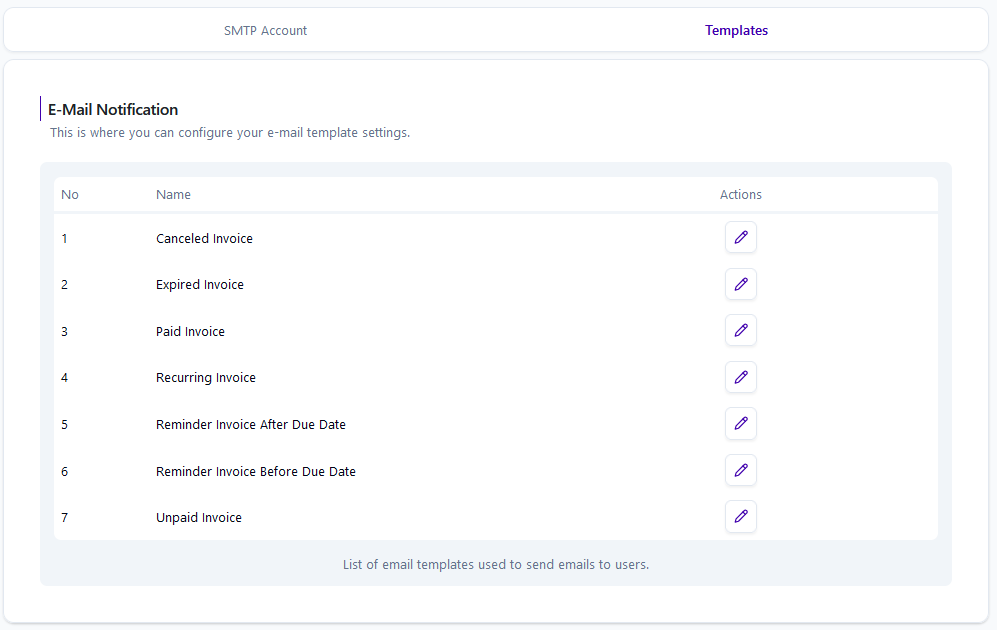
2. E-Mail Template Configuration #
Customize your email templates to maintain consistent communication with clients. Adjust the content, layout, and branding of email notifications for various scenarios like invoice creation, payment receipts, and reminders.
Payment Settings #
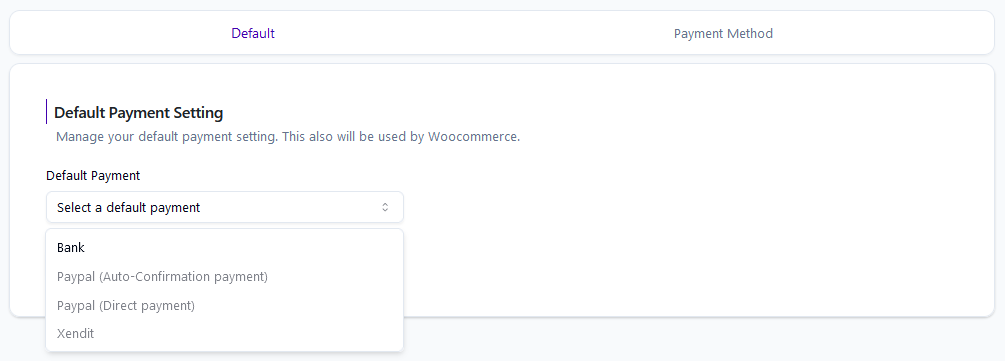
1. Default Payment Settings #
Manage your default payment settings, which will be used for all invoices and integrated with WooCommerce. Set up default payment terms, due dates, and preferred payment methods to streamline the payment process.
2. Payment Methods #
Add and manage multiple payment methods, including Bank transfer, PayPal, Xendit, and others. Configure each payment method’s details to ensure a seamless transaction process for your clients.

Customer Management #
Easily manage your client list in this section. Add new clients, edit existing ones, and organize your customer data for quick access when creating invoices and reports.

WooCommerce Settings #
The WooCommerce Settings section allows you to manage the integration between Invoize Pro and your WooCommerce store. This ensures that invoices are automatically generated and updated based on your store’s order status.
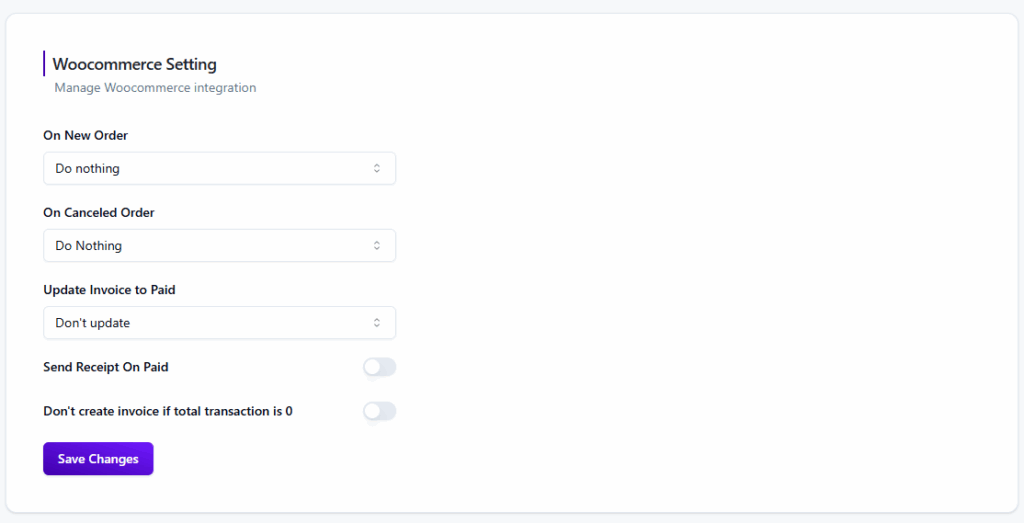
- On New Order: Choose the action to be taken when a new order is placed in WooCommerce.
- On Canceled Order: Select the action for canceled orders. You can configure the system to automatically handle the corresponding invoice.
- Update Invoice to Paid: This setting determines whether the invoice status should be automatically updated to “Paid” once the WooCommerce order is completed and payment is received.
- Send Receipt On Paid: Toggle this option to automatically send a receipt to the customer when the invoice status is updated to “Paid.”
- Don’t create invoice if total transaction is 0: Enable this option to prevent the automatic generation of an invoice for orders with a total amount of zero.