Table of Contents #
Learn how to install and set up the Invoize free version on your WordPress website with this comprehensive tutorial. Follow these simple steps to get your invoicing plugin up and running in minutes.
Step 1: Download the Invoize Free Version #
First, you’ll need to obtain the installation file for Invoize:
- Download the plugin file: Visit the official download page or click here to get the Invoize Free Version
- Save the file: The download will be in ZIP format – save it to an easily accessible location on your computer
- Verify the download: Ensure the file downloaded completely and isn’t corrupted
Step 2: Install the Invoize Plugin #
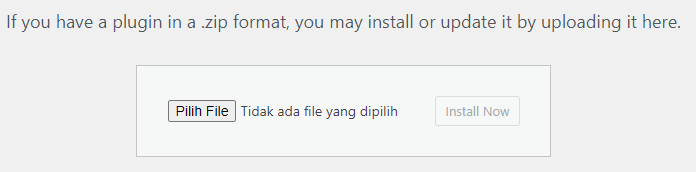
Upload Installation File: In your WordPress sidebar, go to Plugins > Add New Plugin, after that click the Upload Plugin button at the top. You can upload the installation file in the upload section that appears as shown below.
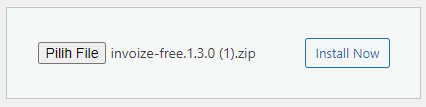
Once you have uploaded the file, simply press the Install Now button to begin the installation, as shown in the image below.
Step 3: Activate the Invoize Plugin #
Automatic Activation #
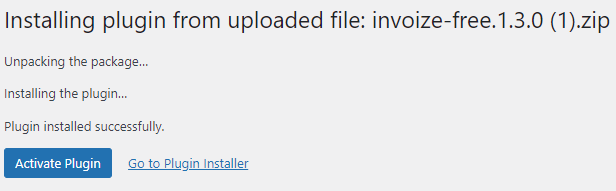
After successful installation, you’ll see an Activate Plugin button. Click it to activate Invoize immediately.
Manual Activation #
Alternatively, you can activate the plugin manually:
- Go to Plugins > Installed Plugins in your WordPress sidebar
- Locate Invoize in the plugin list
- Click the Activate button next to the plugin name

Step 4: Initial Setup and Configuration #
Once activated, Invoize will guide you through the initial setup:
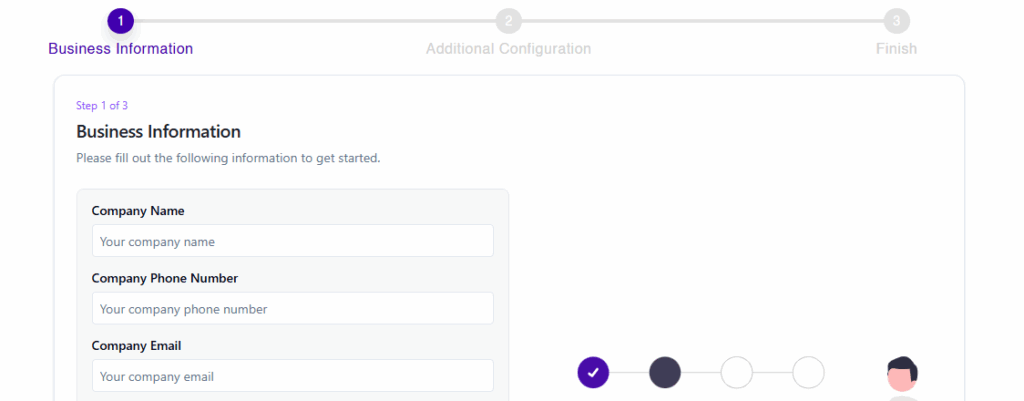
- Follow the setup wizard: After activation, you’ll be redirected to a setup page
- Configure basic settings: Complete the required fields such as:
- Company information
- Currency settings
- Invoice numbering preferences
- Email templates
- Save your settings: Click Save to apply your configuration
Step 5: Start Using Invoize #
Accessing the Plugin #
- Find the Invoize menu: Look for the Invoize menu item in your WordPress sidebar
- Explore features: Navigate through the different sections:
- Dashboard
- Create Invoice
- Manage Clients
- Reports
- Settings
Creating Your First Invoice #
- Click on Create Invoice or New Invoice
- Fill in client details
- Add invoice items and amounts
- Preview and send your invoice
Contact Us #
Support: If you have any questions, need assistance, or would like to share feedback, you can click here.